Lights, pretty and colorful!
I’ve come a long way with my lights since my last post.
First thing I did was to say “Screw it” and rip open the other light control box I had - which yielded very nice results. There were some surface mount resistors between the IC and the transistors, so I just removed those and soldered to the pad they were on before. Other than that, identical setup to what I had before.
I did manage somehow to blow up one of the transistors on that board, so after some careful solder work, I discovered that I can, in fact, remove and replace a surface mount transistor. (Small tweezers were very helpful with this operation!)
The box I had ordered on Amazon came in - but it required a slightly different
setup. I gave it 5v (from the Arduino) on the V+ connection, then connected 3
PWM pins to the other 3 connections. Of course, this meant that
digitalWrite(0) would turn the lights on fully. I did the simple
arithmetic (255 - n) on the Arduino itself, to keep the python part of the
program independent of the hardware involved.
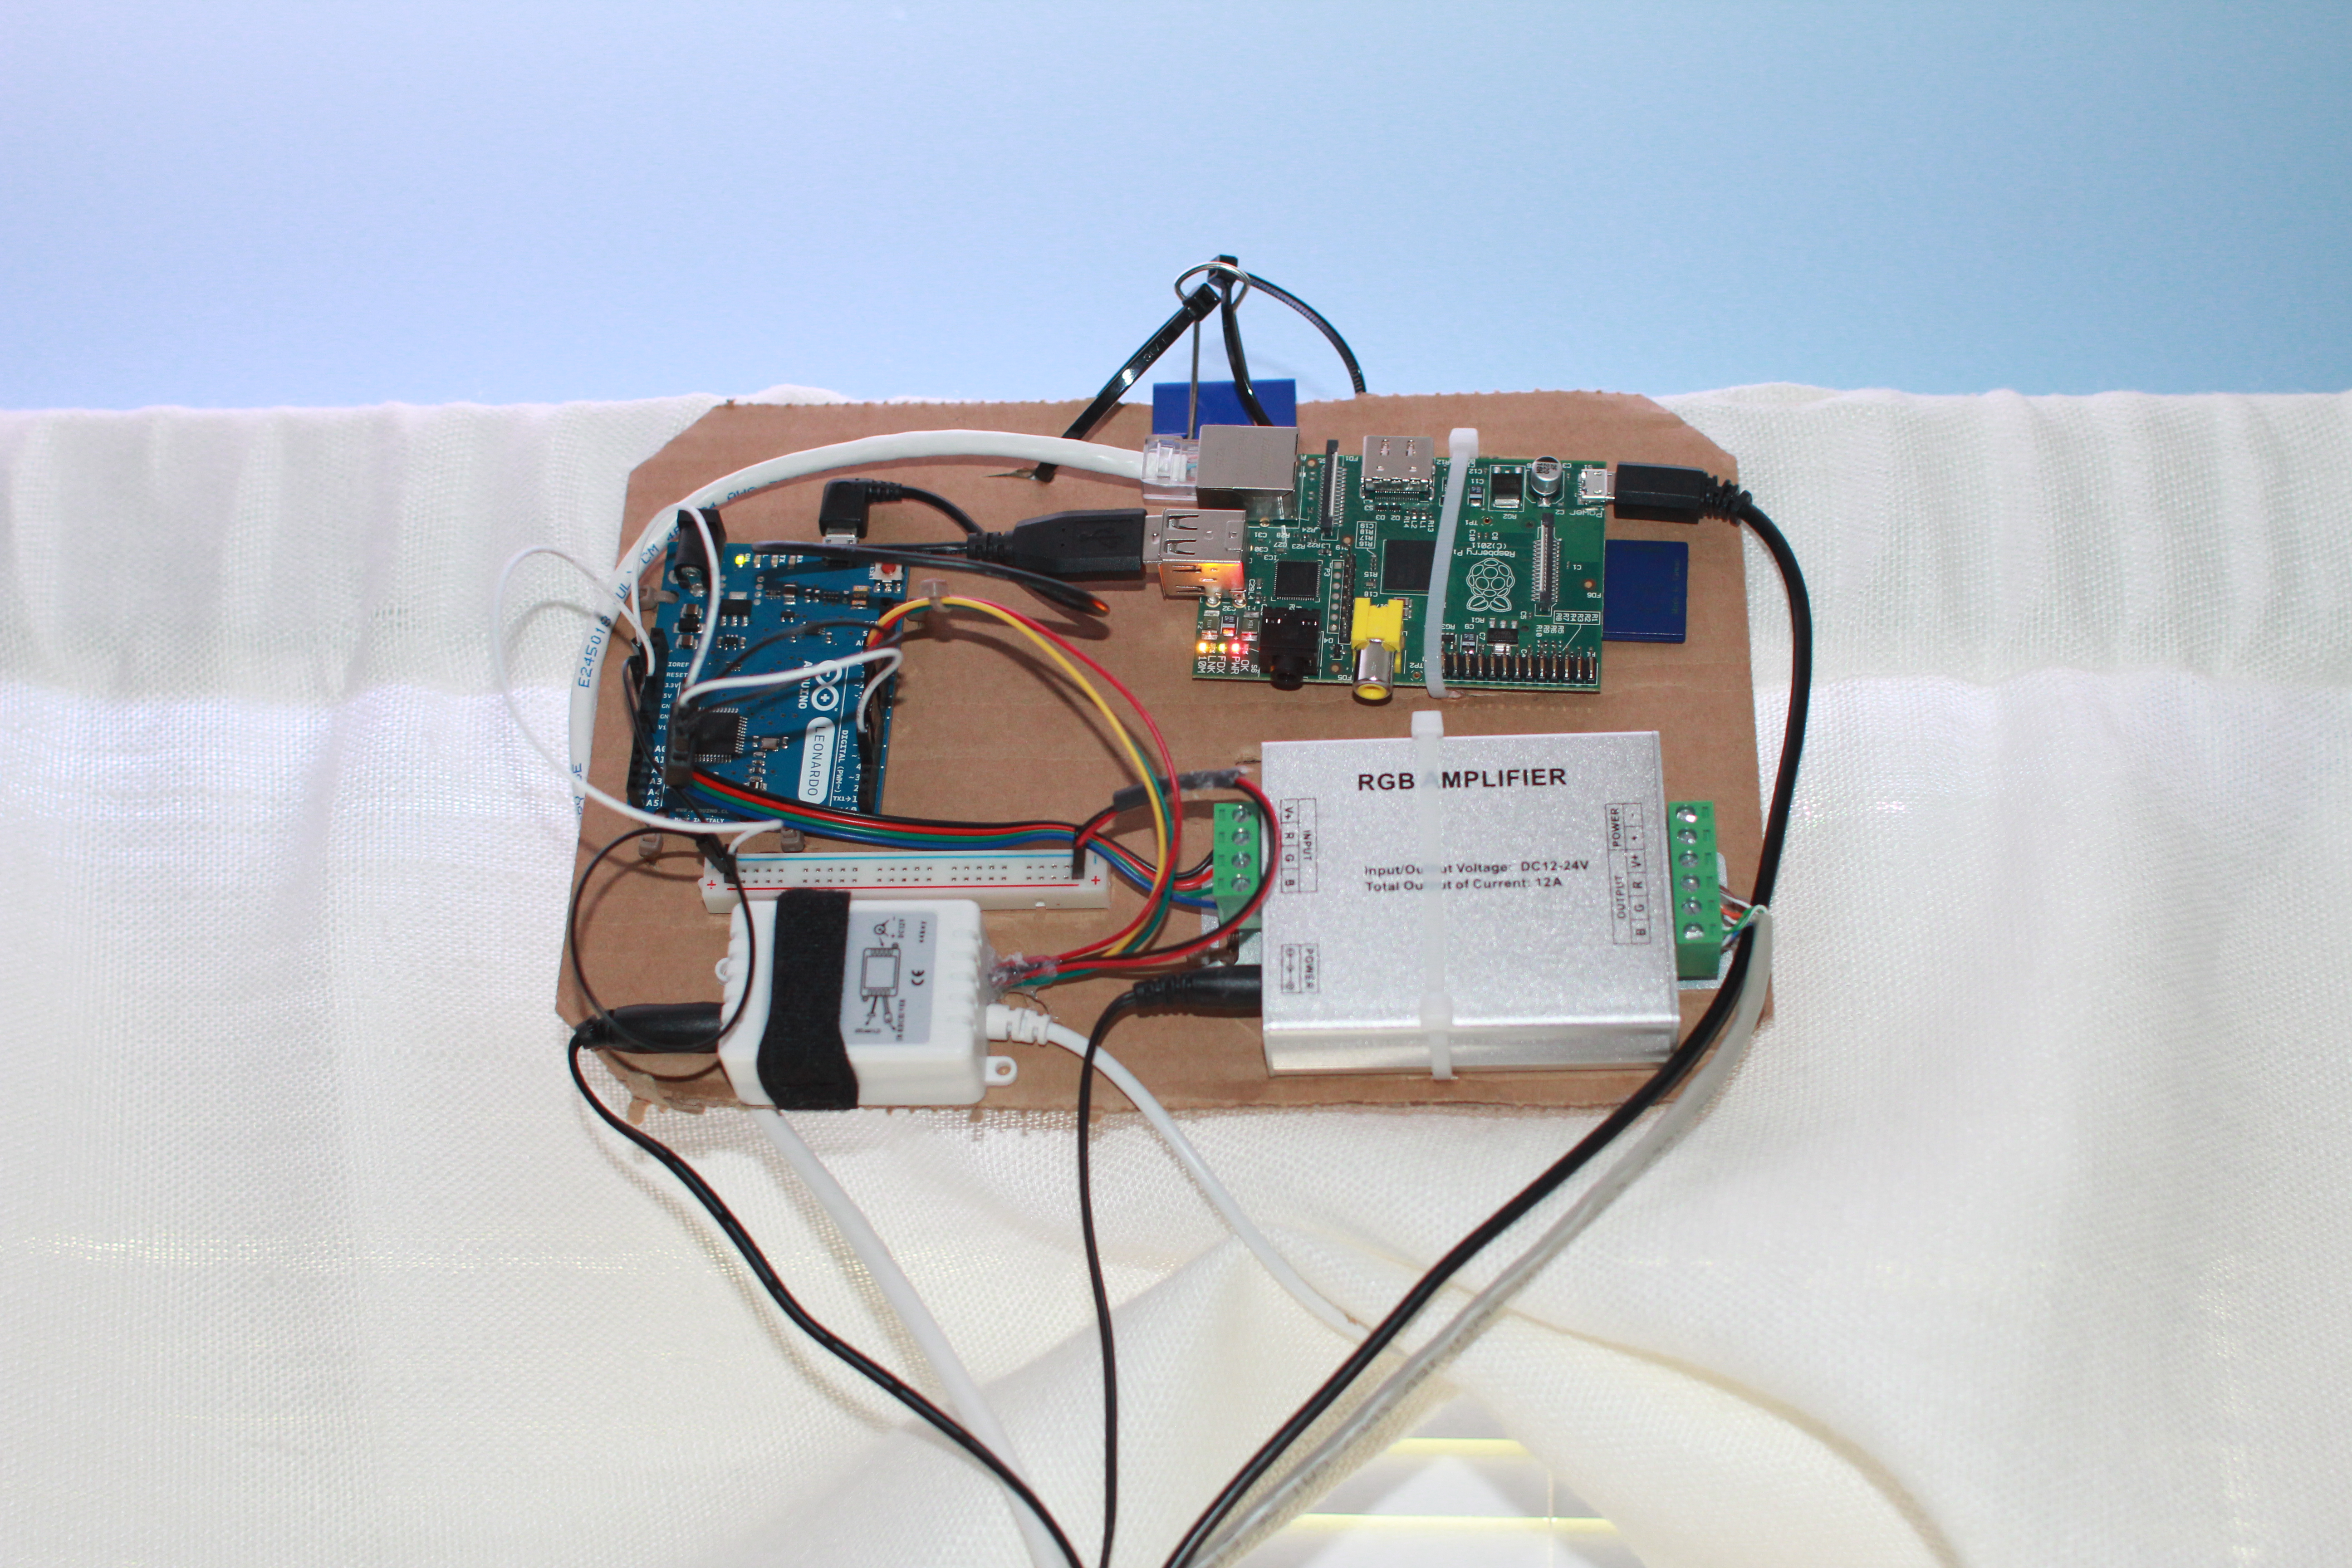
Here’s what the current state of the boards looks like.

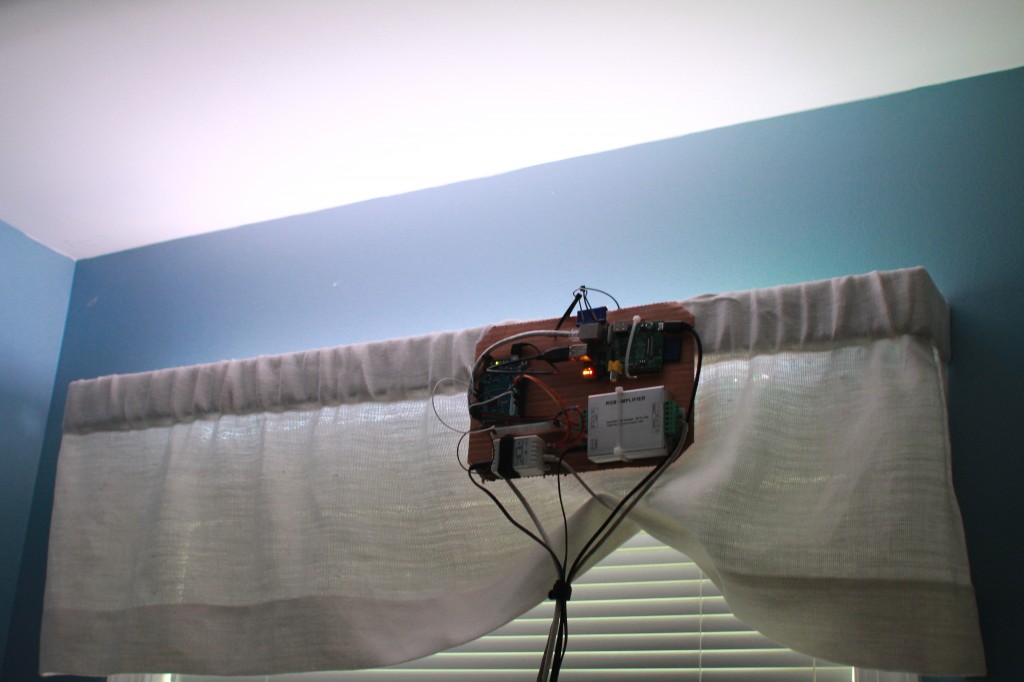
I’m trying to figure out how to make it look prettier… The cardboard is currently mounted to my curtain rod with a binder clip (and some zip-ties to keep the board from falling too far!). It’s up there because it was too much work (for now) to extend the wires to the lights on top of the window - so I just put it up there. An added bonus is that I can see the lights on the Raspberry Pi… I bundled all the cables coming down into a neat bundle, as you can see here.

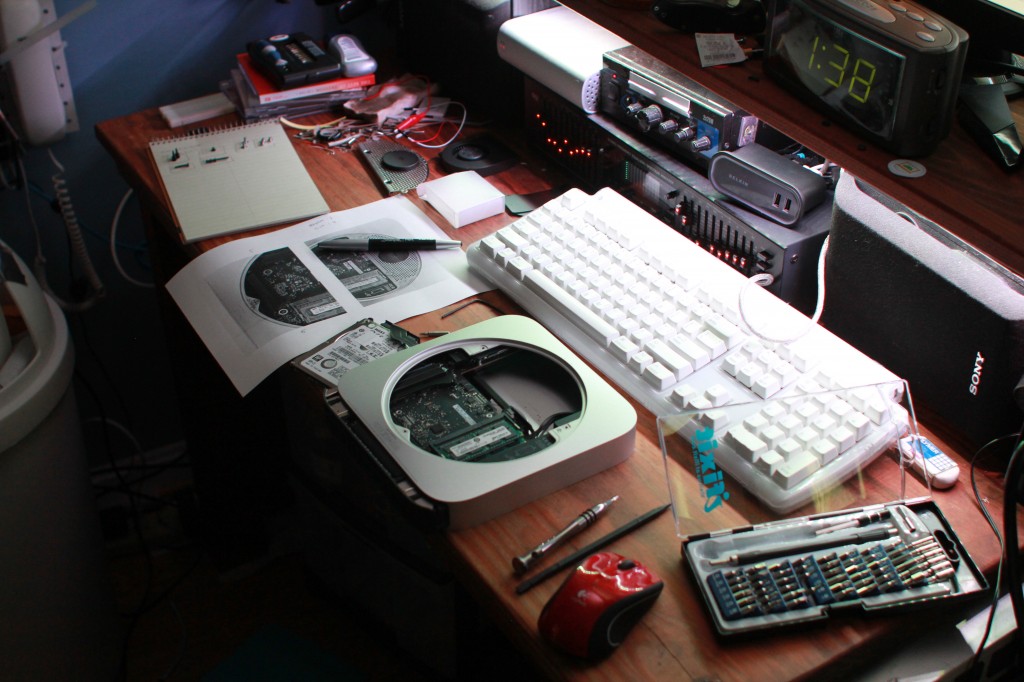
I also mounted a strip of lights under the lip of my desk. (I have a shelf with my monitor and computer on it…) This is what my College Setup (This is from January…) evolved to through the Spring Semester and at home.

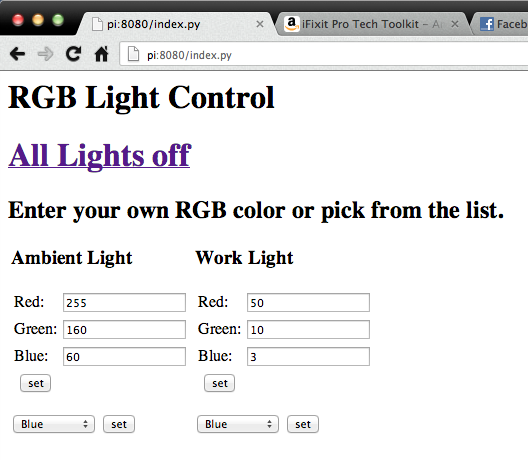
As far as the python portion of the project goes, I really like the way that came out. I used this as a script server. It’s simple, and got me going pretty quickly. Here’s how the webpage turned out.

What’s Next?
Here’s my shortlist of what to do with this next:
- Fading. I’m still debating implementing this in Python or on the Arduino itself…
- Prettier Web UI. thinking maybe some Twitter Bootstrap, and maybe a color picker?
NicerEnclosure (I might need to upgrade to the newer Raspberry Pi with Mounting Holes for this one…)- Another string of lights in another part of my room.
- Replacing my home-hacked controller (white box) with another of the amplifiers. (The colors between the two are a little different, and I like the ones off the pre-made amplifier better…)
- Android app? The light control is basically just posting to a webpage - so an Android app might not be out of reach…